Hey Belle Hey-
Happy Almost Fall! August has brought in some major changes for me, the first returning to campus full-time and a new job on campus. With all of the changes I wanted to make a sweet forget-me-not for my coworkers who I hadn’t seen in over a year and who I wouldn’t be seeing as much since I am switching positions on campus (believe it or not moving one floor up makes a difference).

I don’t know about you but I recently realized that I have a hard time cutting pretty scrapbook paper. A few weeks ago I stumbled upon some lovely fall designs scrapbook paper and decided to make notebooks using a long armed stapler. These notebooks are so fun and they slide easily into a purse or bookbag to jot down a quick note.
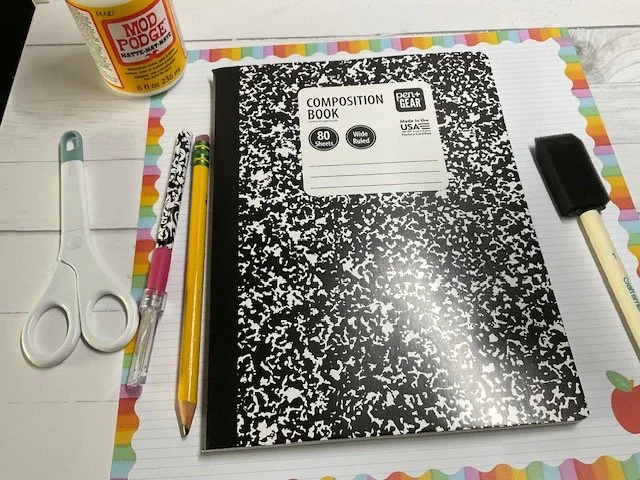
Here’s what you’ll need for this DIY
12x12 Scrapbook paper (I switched between double-sided and non-double-sided)
Long Arm Stapler (I purchased mine from Amazon)
Paper Cutter
Bone Folder (I have one but I decided to use my Cricut Scraper instead)
8.5x11 copier paper for the paper inside your notebook

Step 1: Now that you have gathered all of your supplies, the first thing you want to do is fold your copier paper in half-this will be the paper that you place inside of your scrapbook paper cover. I am using 10 folded sheets of 28lb radiant white premium inkjet laser paper by SouthWorth. I love this paper because of the sleekness- I purchased it in bulk from Sam’s Club.
I fold two sheets at a time in half and then use my bone folder or Cricut scraper tool to make sure the edges are nice and crisp.

Belle Tip: You could jazz up the inside of your notebook by using colorful paper inside.
Step 2: Once your sheets are folded, open them up and place them on top of each other to begin forming the inside of your notebook. Once I have my 10 sheets placed on top of each other, I fold them and go down the spine again with my bone folder.

Step 3: Place your sheets inside of your desired scrapbook cover design and use a pencil to mark of the edges you need to cut off. After cutting your outside design place your inside paper into the outside cover and use the bone folder are scraper one more time to make sure the edges are nice and clean.

Step 4: Open the notebook and use the long arm staple to place staples down the spine- I usually do 3 staples-one towards the bottom, one in the middle, and one towards the top of the notebook.

Belle Tip: I used my Cricut Joy and Scrap Vinyl to add names to my notebooks to make them a little more special-if you decide to do this, consider using an older piece of Transfer Tap to transfer the name so that your scrapbook cover design is not damaged.
And just like that you have a fun notebook that’s easy to grab on the go!
Who can you make this for-Comment below!
As Always,
#MakeSomethingFabulousBelle,
-Holly J.