
Hey Belle Hey
As a little girl, I have been in love with notebooks and stationery. There is something special about writing down all the things…It’s my love for stationery that sparked our Etsy Store, PGPStudiobyHolly which will be filled with stationery and other lifestyle supplies to make you sparkle.

Notebooks are a fabulous stationery item
Purchasing notebooks is fun but making personalized notebooks adds an extra special touch. Follow the steps below to hand make your own notebook.
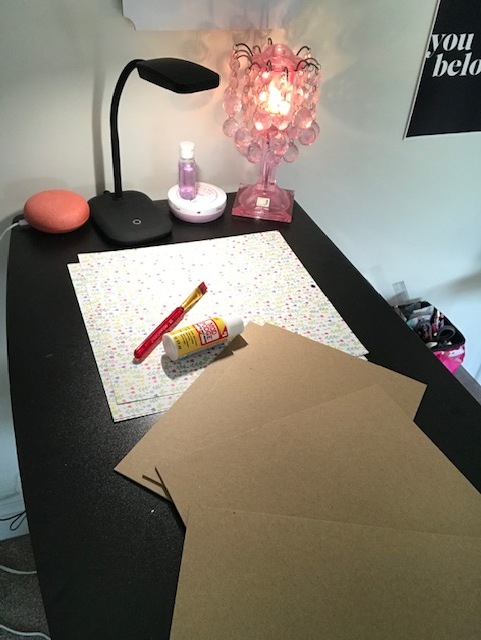
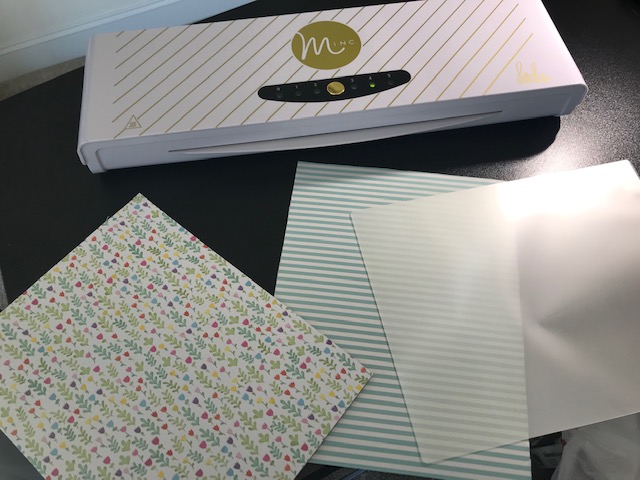
Step 1: Gather your tools
We R Memory Keepers Cinch (I have the Heidi Swapp version)
Binding Wire (the Cinch works better with 2:1 binding wire)
Chipboard in the size you want to make your notebook
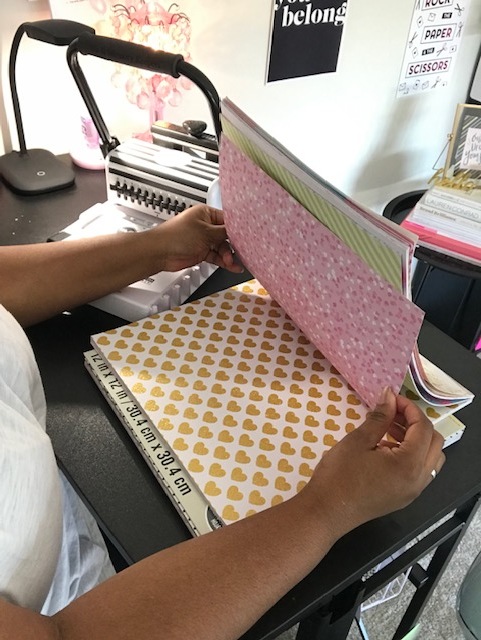
Scrapbook paper or paper that you wish to cover your Chipboard
Modpodge and paintbrush
Filler Paper for your notebook (lined or unlined)
Laminator (optional- using my Heidi Swapp Minc as a laminator)
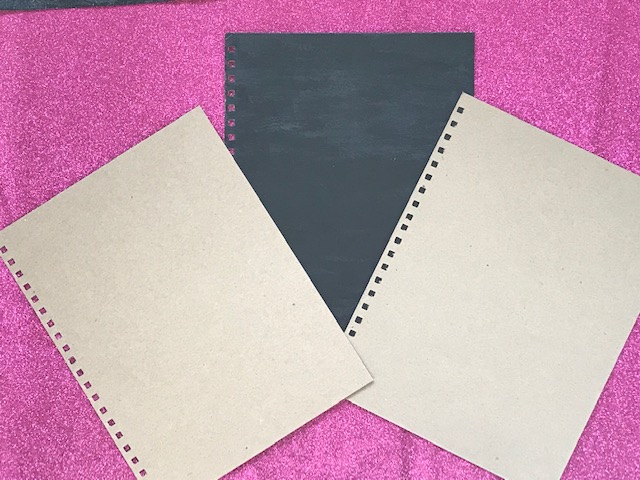
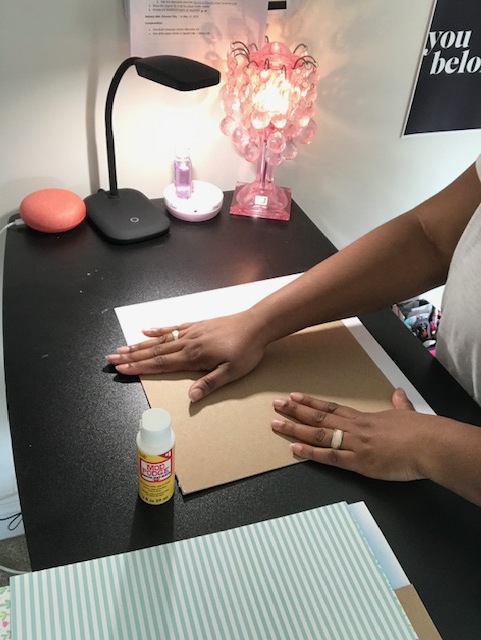
Step 2: Cover your ChipBoard
Once you have your chipboard size you have some choices- You can paint the chipboard (The first picture I decided to paint my chipboard cover black) or you can pick some of your favorite scrapbook paper to cover your chipboard.
If you cover your chipboard with scrapbook paper use modpodge and then to make your cover extra sturdy you can use a laminator to protect the scrapbook paper cover.
*Belle Tip: You can also use heavy cardstock laminated for the cover and chipboard as the backing
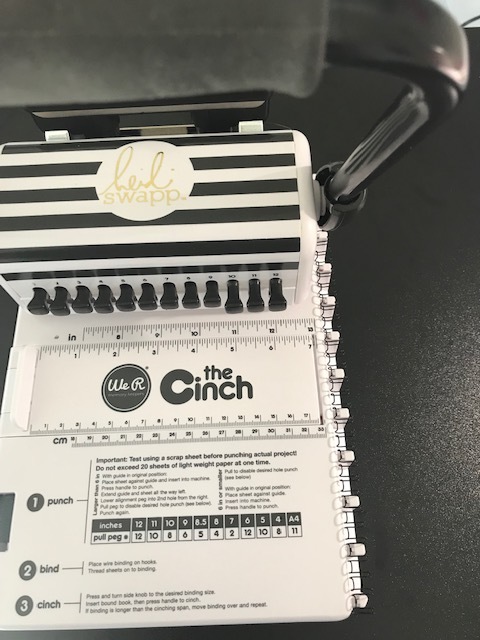
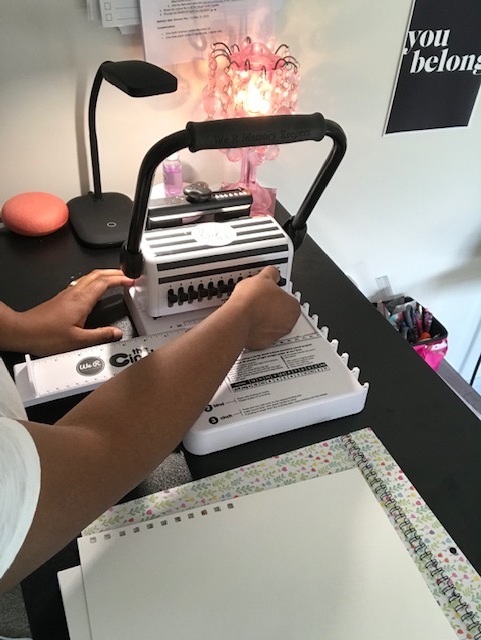
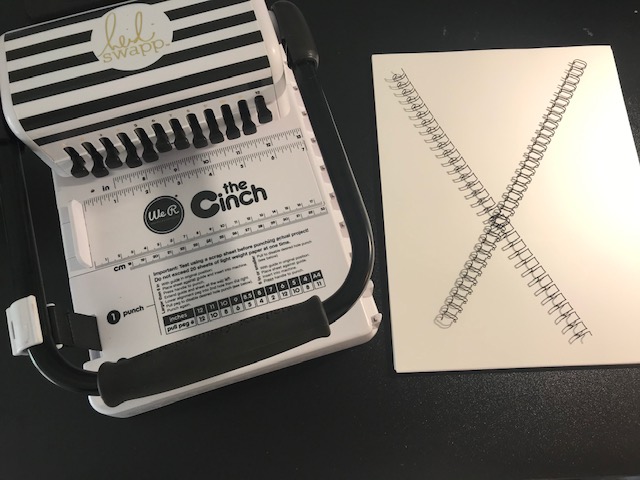
Step 3: Punch holes your ChipBoard and Filler Paper
While waiting for Chipboard to dry with the modpodge, you can use the Cinch machine to punch holes in the paper you are placing in your notebook and your chipboard.
I decided to make a 81/2 by 11 notebook…to get the holes lined up correctly you will need to use the punch twice.
Pull the cinch ruler all the way out and slide your chipboard or filler paper (depending on the thickness you may have to do a few sheets at a time) into the slot and use the leaver to push down
Push the cinch ruler in and pull pegs 9, 10, and 11 out then use the leaver to punch another set of holes

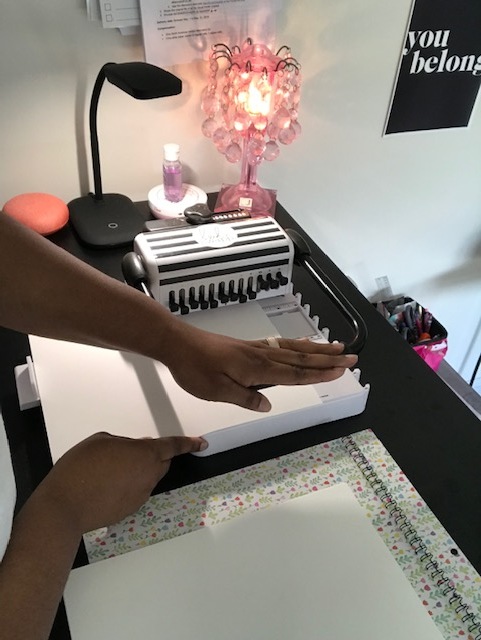
Step 4: Close your Notebook
Once you have your holes punched, place the binding wire on the side of your cinch and then place your chipboard in order starting with the back, the paper, and then the top of your notebook.
After you have the order you can use the back of your cinch to close your notebook…Don’t forget to empty out your tray in the back once you are done.
Don’t want to make your own notebook- we have you covered…we’ll be adding handmade notebooks to our Etsy Store soon.
What’s your favorite stationery item…comment below.
As Always,
#StayFabulousBelle