
Hey Belle Hey-
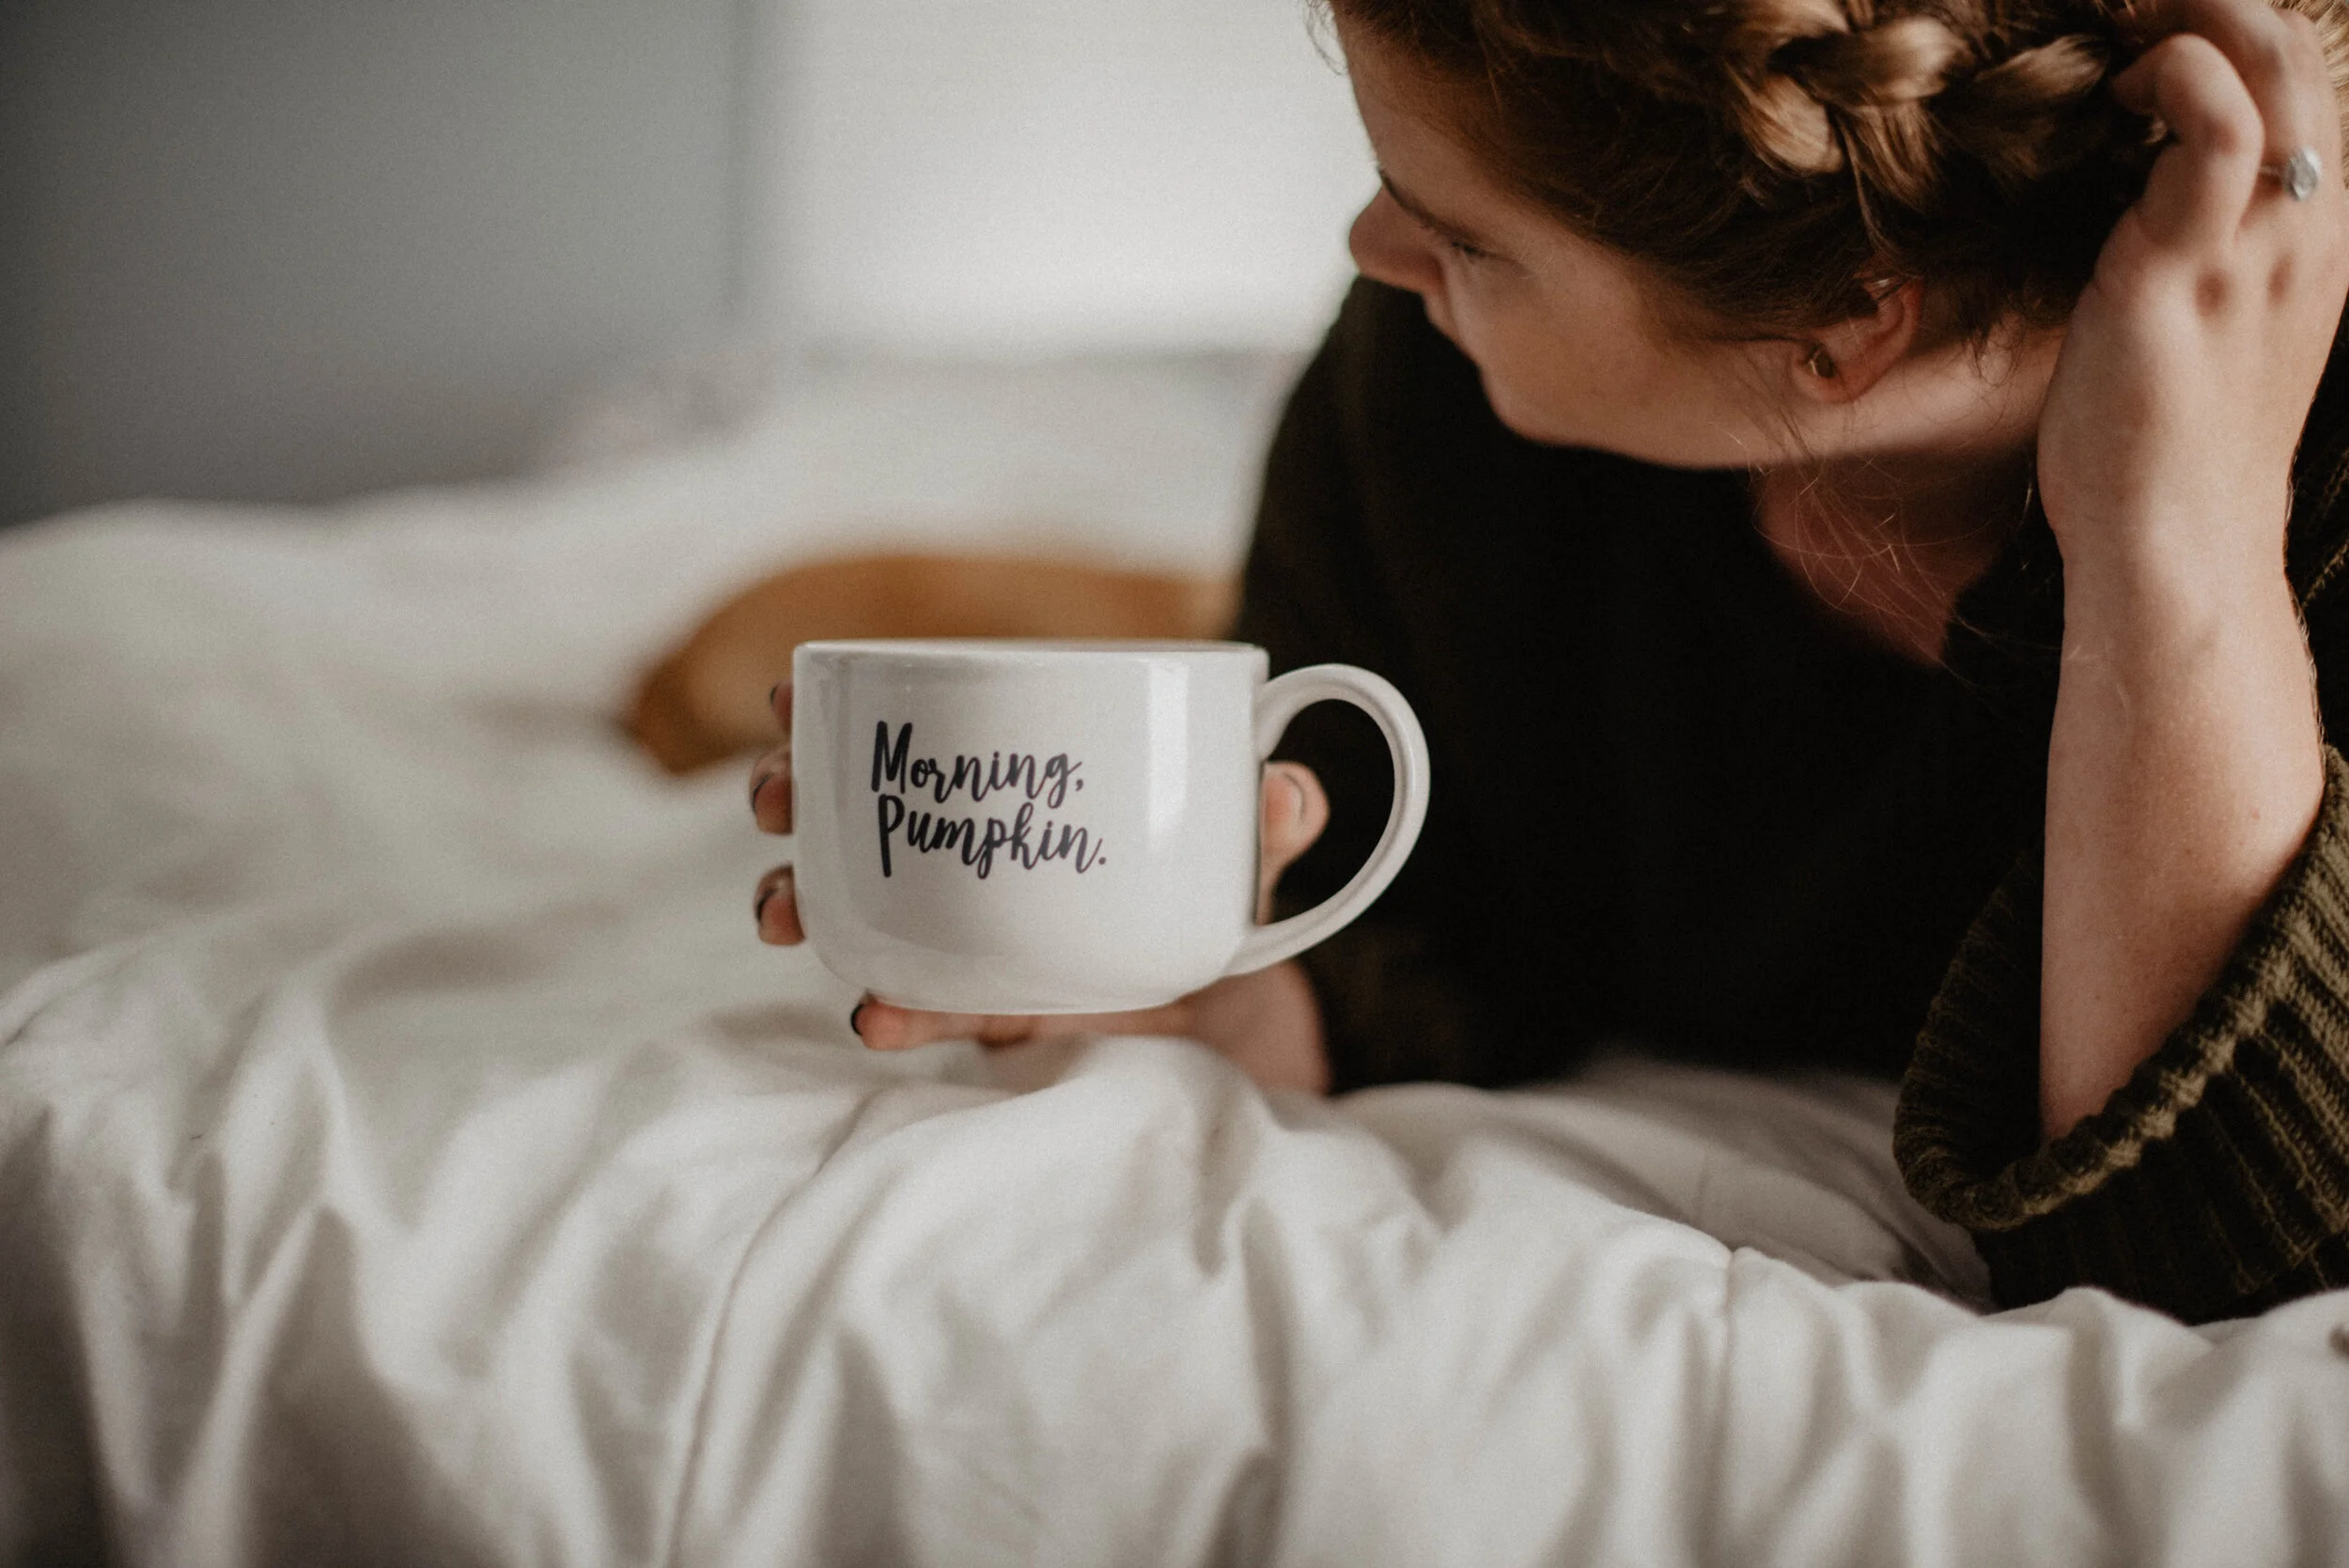
Happy Fabulous Fall!
Fall is actually one of my favorite times to decorate my home. I love the ability to add colors that I normally don’t pick in decor, cover the front porch with mums and pumpkins and enjoy the time outside just before it gets really cold.
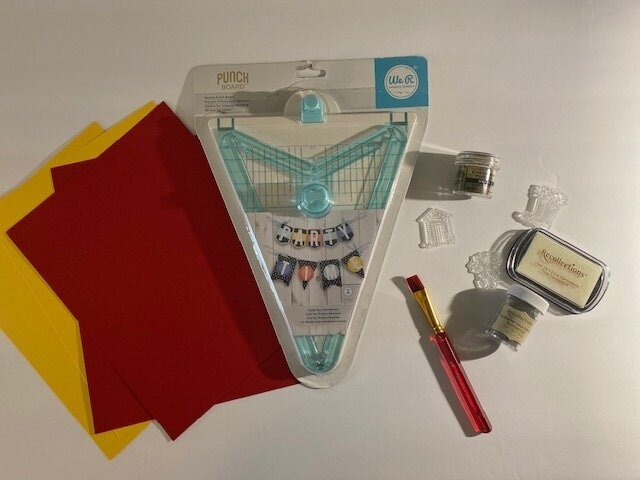
Let’s celebrate fall and the return to calmer days by making a fall banner using the We R Memory Keepers Banner Punch Board and embossing. Here’s what you’ll need for this project:
We R Memory Keepers Punch Board Tool
Stamps ( 3 or 4 of your choice)
We R Memory Keepers All In One Tool (stamper part or a stamp pad)
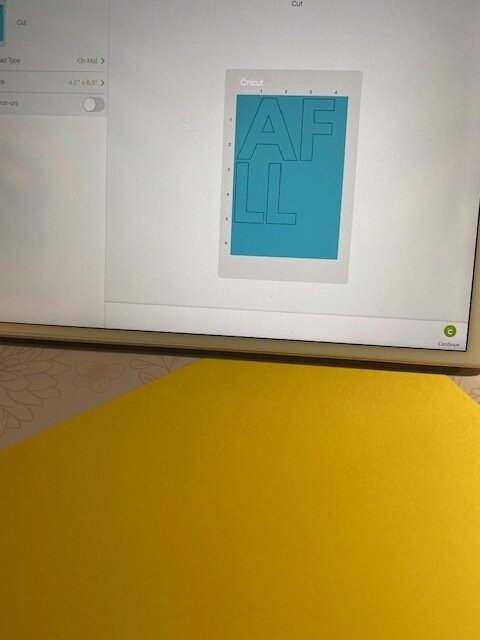
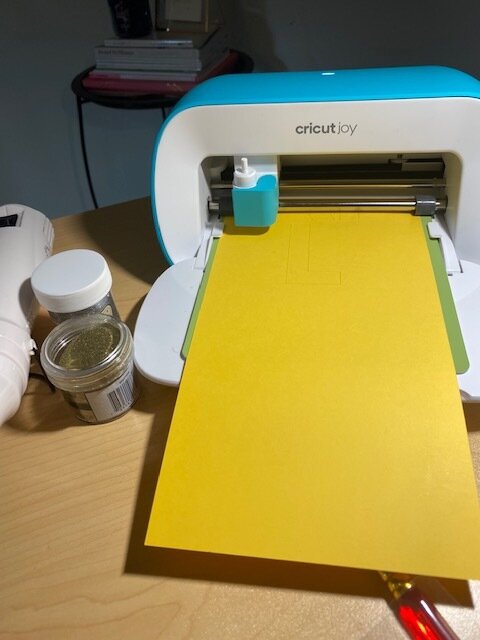
Handwriting or Cricut Joy to cut out the words FALL
Embossing Ink and Powder (I used gold and silver)
Heat Embossing Tool
Fall Colored Cardstock
Ribbon to Hang Your Banner
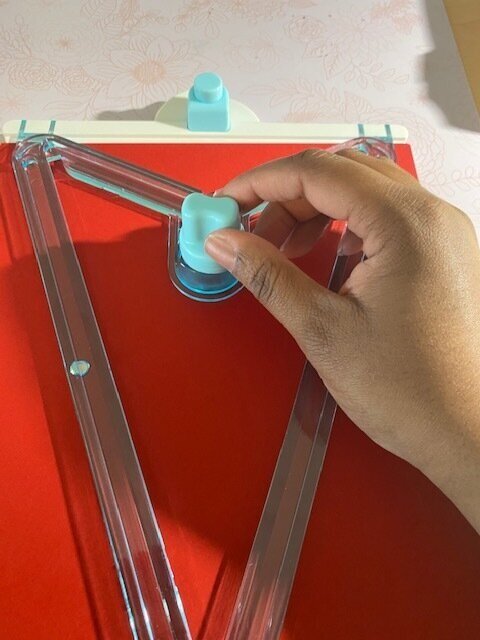
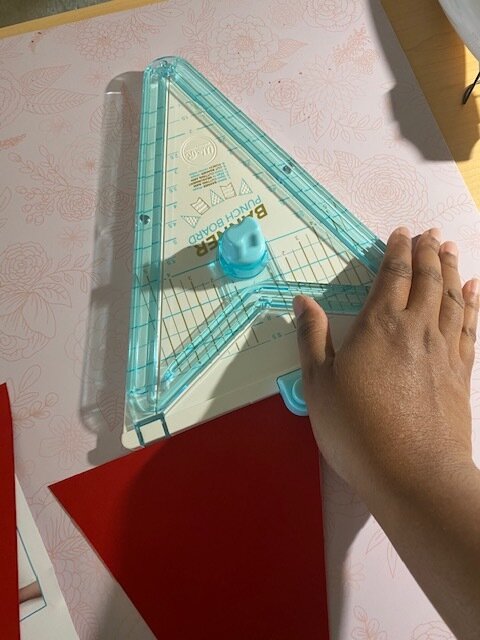
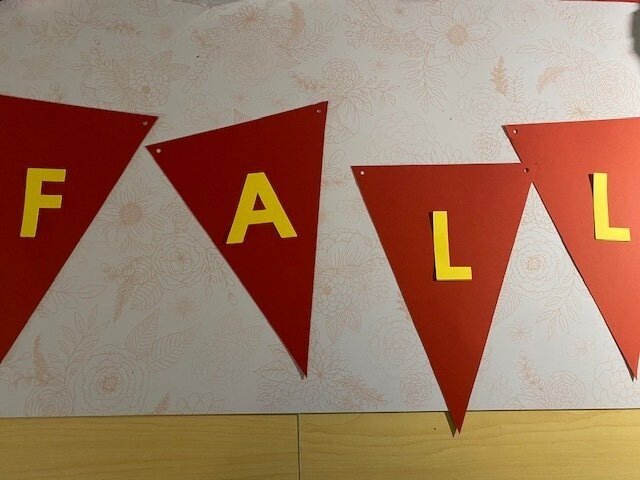
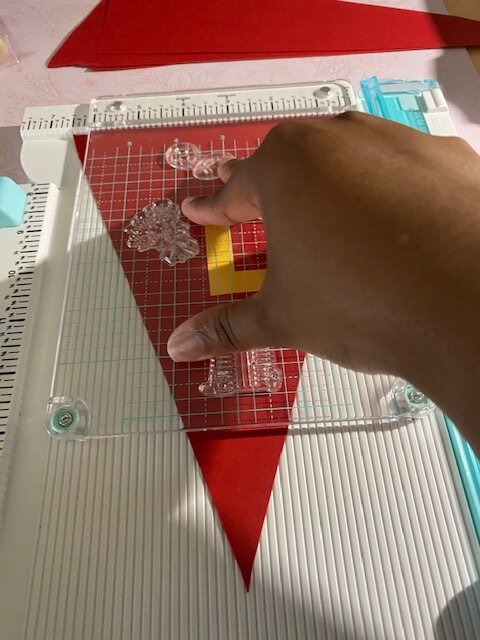
To get started with your fall banner, you want to select 4 sheets of Cardstock paper to punch your party banners out. The We R Memory Keepers Punch Board cuts three designs: Pennant, Flag, or Crest ( I decided to go with the Pennant shape for a more traditional look). After cutting your banner use the punch at the top of the board to place the hole in the design to connect your banner together and hand your design.
I am not a huge fan of my handwriting so I decided to use my Cricut Joy to cut out the words FALL to place on each banner. I am so in love with the Joy (more on that in a future post).
Belle Tip: When gluing your letters on your banner pieces be very careful to make sure you only get glue where you want it to appear on the letters.
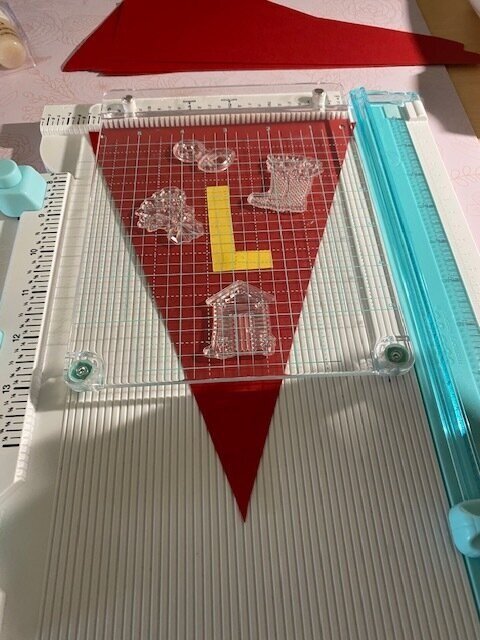
The great thing about the We R Memory Keepers Tool is that you can place your stamps on the design before adding ink to make sure you have them in the right place. Once you have your stamps in the right place and place the ink on your design cover the design with the embossing powder. If you have too much Powder gently tap your design to get the excess powder off or use a fine paint brush but be careful not to smear your design.
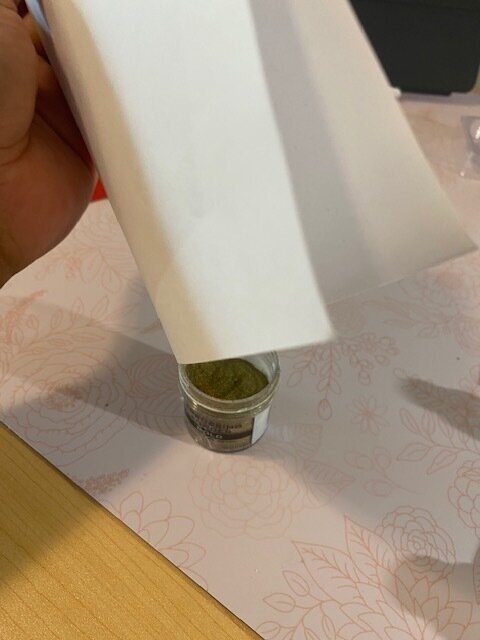
Belle Tip: I usually fold a basic sheet of white copy paper in half and gently shake my extra powder onto the paper so that I can put the extra powder back into the container for future use.
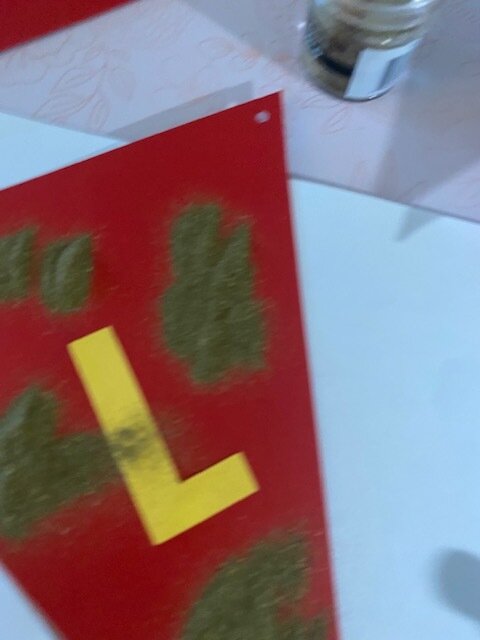
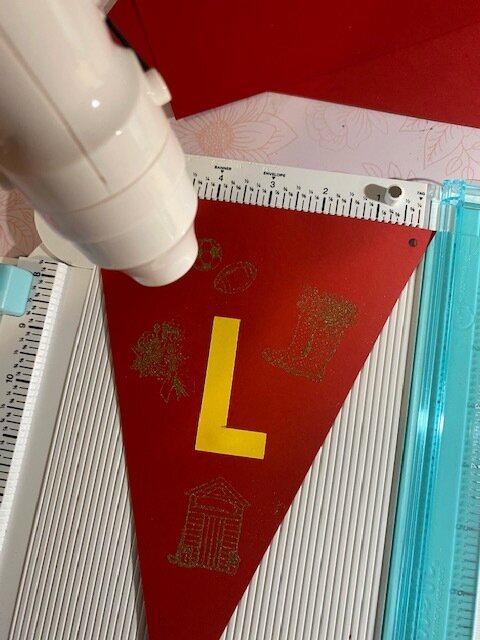
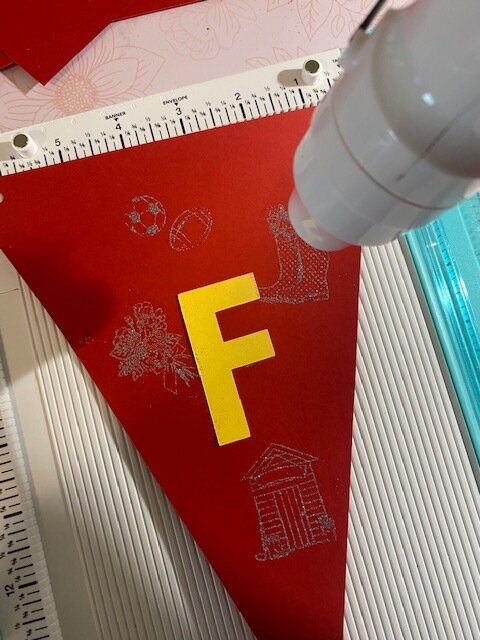
After stamping your design your next step is to use a heat tool to transform the embossing powder into a sparkly design and from there just use some ribbon to hang your banner

Happy Fall Belles
As Always,
#StayFabulousBelles